RECIPE / GENERAL
Melon Pan メロンパン
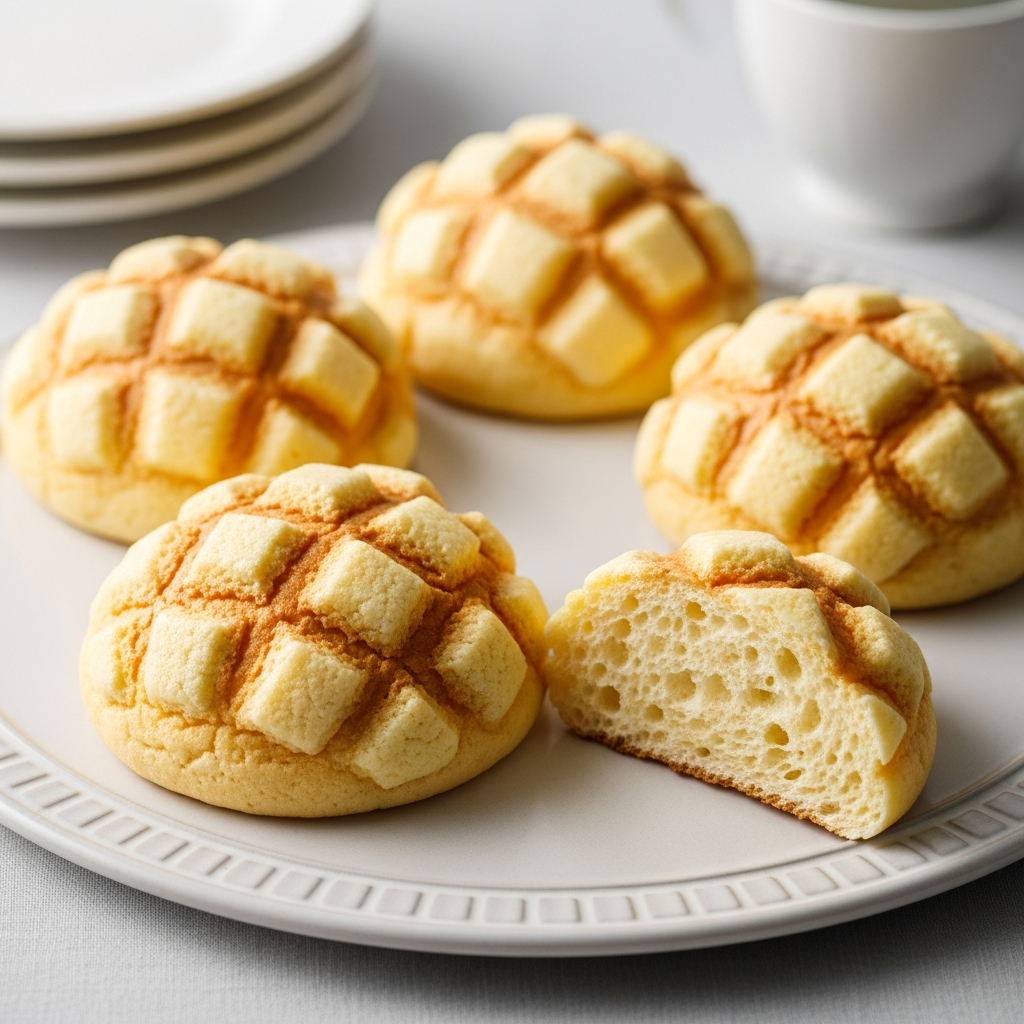
Indulge in the iconic Japanese Melon Pan, a delightful sweet bread with a soft, fluffy interior and a signature crispy, cookie-like crust. This recipe guides you through creating these perfectly domed, melon-patterned buns that are as charming to look at as they are delicious to eat.
PREP
265 min
COOK
15 min
SERVES
10
PAIRING
Matcha
INGREDIENTS
Units
10 serv
- Bread flour225 g
- Cake flour25 g
- Kosher/sea salt3 g
- Granulated sugar (for main dough)40 g
- Instant dry yeast4 g
- Large egg (for main dough)1 st
- Whole milk50 ml
- Water50 ml
- Unsalted butter (for main dough)35 g
- Unsalted butter (for biscuit dough)60 g
- Granulated sugar (for biscuit dough)100 g
- Large egg (for biscuit dough)1 st
- Cake flour (for biscuit dough)200 g
- Baking powder2 g
- Granulated sugar (for coating)2 msk
METHOD
- 01Gather all the ingredients.
- 02For the Main Dough (Hand Kneading method): In a large bowl, combine 225g bread flour, 25g cake flour, 40g granulated sugar, and 3g kosher/sea salt. Add 4g instant dry yeast and 1 large beaten egg. Add 50ml whole milk and 50ml water, both kept at 86F (30C). Mix gently with a silicone spatula or your fingertips until combined, forming a loose, sticky ball (about 2 minutes). Transfer the dough to a lightly floured work surface.
- 03Press the heels of your hands into the dough, pushing forward slightly. Fold the top half of the dough in half back toward you, then rock forward to press it flat. Turn the dough slightly, fold, and rock into it again. Repeat this 'punching' process for about 5 minutes until the dough becomes more elastic. If the dough remains very sticky, lightly sprinkle with more flour and dust your hands.
- 04After 'punching' for 5 minutes, stretch the dough to about 10 inches (25 cm). Place small cubes of 35g unsalted butter on top of the dough. Roll up the dough, tucking the butter in, and then continue the kneading process. The dough will get oily and messy initially but will absorb the butter and become smoother. Use a metal/silicone dough scraper to collect any dough stuck on the work surface.
- 05As you knead, the dough will absorb the butter and eventually become very smooth and easier to work with. Finally, start banging the dough onto the work surface and fold it over away from you. Bang the dough, turn it 90 degrees, and 'punch' it using the lower part of your palm. Continue this process for 10 minutes or until the dough is smooth, supple, and silky. (Alternatively, for Stand Mixer Method: In a stand mixer bowl, combine dry ingredients, then add egg, warm milk, and water. Knead on low speed until combined, then add butter and knead until incorporated and dough is silky, smooth, and elastic.)
- 06Perform the Windowpane Test: When the dough is silky and smooth, pull a small piece of dough with your thumb and fingers, spreading it into a thin, translucent membrane. If it tears, the gluten isn’t ready; knead for another 2 minutes and test again.
- 07Shape the dough into a ball by pulling all sides to the bottom and pinching them together. Place the dough in a bowl (seam on the bottom), cover with plastic wrap, and let rise in a warm place (e.g., oven proof setting 100F/38C) until doubled in size, about 1-2 hours.
- 08For the Biscuit Dough (Hand Kneading method): In a large bowl, add 60g unsalted butter and mix with a silicone spatula until smooth. Add 100g granulated sugar and mix until well blended. Slowly add 1 large beaten egg in very small amounts, blending well after each addition until all the egg is incorporated. Sift 200g cake flour and 2g baking powder into the mixture. Using the spatula, mix well until the dough is not floury. Collect the dough and form it into a ball. (Alternatively, for Stand Mixer Method: In a clean stand mixer bowl, add 60g unsalted butter and 100g granulated sugar. Mix until smooth. Slowly add 1 large beaten egg in small amounts, blending well after each addition. Sift 200g cake flour and 2g baking powder into the mixture. Mix until incorporated and no longer floury, then form into a ball.)
- 09Measure the weight of the biscuit dough (should be around 400-410g). Roughly cut the dough into 10 pieces. Weigh each piece to be 1/10 of the total weight (approx. 40-41g). If heavier, pinch off and add to smaller pieces. Roll the 10 pieces into balls. Place them on a baking sheet lined with a silicone baking mat or parchment paper, cover with plastic wrap, and refrigerate for 10 minutes to harden slightly.
- 10Prepare the Main Dough for Shaping: Once the main dough has doubled in size, dust your index finger with flour and poke the center; if the hole doesn’t close, the dough is ready. Remove the dough with a silicone scraper and transfer to a lightly floured work surface. Press the dough with your hands to release the gas and deflate it. Fold the dough in thirds, then in thirds again. Flip to keep the seam side on the bottom. Shape the dough into a ball by rotating it clockwise with both hands while the seam line is touching the work surface.
- 11Measure the weight of the main dough (should be around 460-470g). Using a dough scraper, roughly cut the dough into 10 equal pieces. Weigh each piece to be 1/10 of the total weight (approx. 46-47g). If heavier, pinch off from the center and add to smaller pieces. Shape each dough piece into a nice round ball, pulling from all sides and tucking to the bottom. Place the dough on a baking sheet lined with parchment paper or silicone baking mat, cover with plastic wrap, and rest for 15 minutes at room temperature.
- 12Prepare the Biscuit Dough for Shaping: Place the chilled biscuit dough balls on a lightly floured work surface and flatten with your hand. Using a rolling pin, roll each into a 4-inch (10-12 cm) flat round.
- 13Shaping the Melon Pan: After the 15-minute rest, flatten each main dough ball with your hand and fold in thirds. Then fold in thirds one more time and pinch both ends to shape the dough into a ball. Pull the dough from all sides towards the seam on the bottom, and rotate it on your palm to ensure the seam is underneath.
- 14Place a rolled biscuit dough round on your palm. Put a main dough ball (seam side facing up) in the middle of the biscuit dough. Then flip to show the biscuit dough on top. Gently pull all sides of the biscuit dough, wrapping it around the main dough and sealing it at the bottom.
- 15Coat the biscuit-wrapped dough ball with 2 Tbsp granulated sugar, removing the excess. Using a dough scraper or knife, gently score a crisscross pattern (e.g., 3 lines on each side) onto the biscuit dough.
- 16Place the shaped dough balls on a baking sheet, seam side on the bottom. Cover with plastic wrap and let rise in a warm place (e.g., oven proof setting 100F/38C) until one and a half times its size, about 50 minutes.
- 17When the dough has risen halfway, preheat the oven to 350F (180C). (If using the oven for proofing, transfer the dough to a warmer place while the oven preheats).
- 18Bake for 13-15 minutes. Toward the end of baking, rotate the baking sheet if the bread is not browning evenly.
- 19Once baked, transfer the melon pan to a wire rack and let it cool completely. Store in an airtight container or bag after it’s been cooled. Enjoy!